
Last updated November 21, 2026
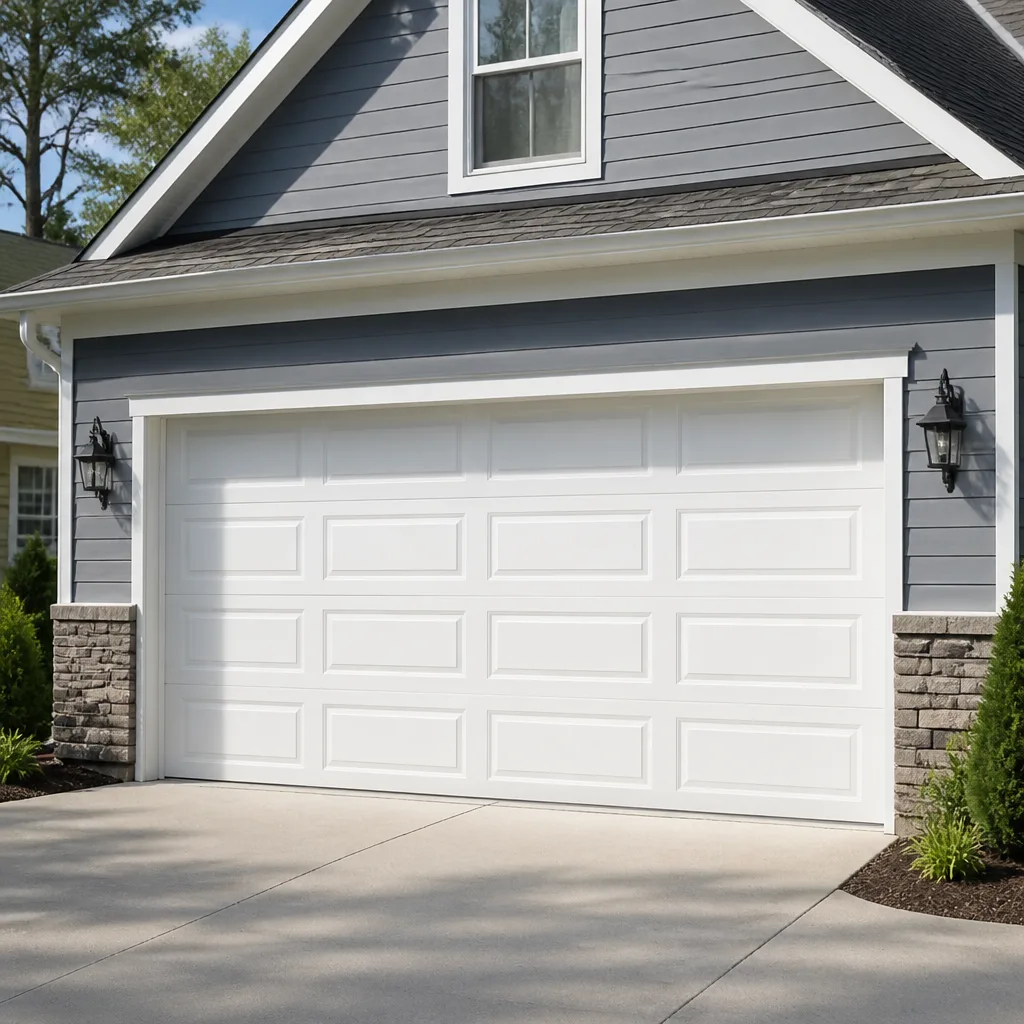 Raised-panel steel
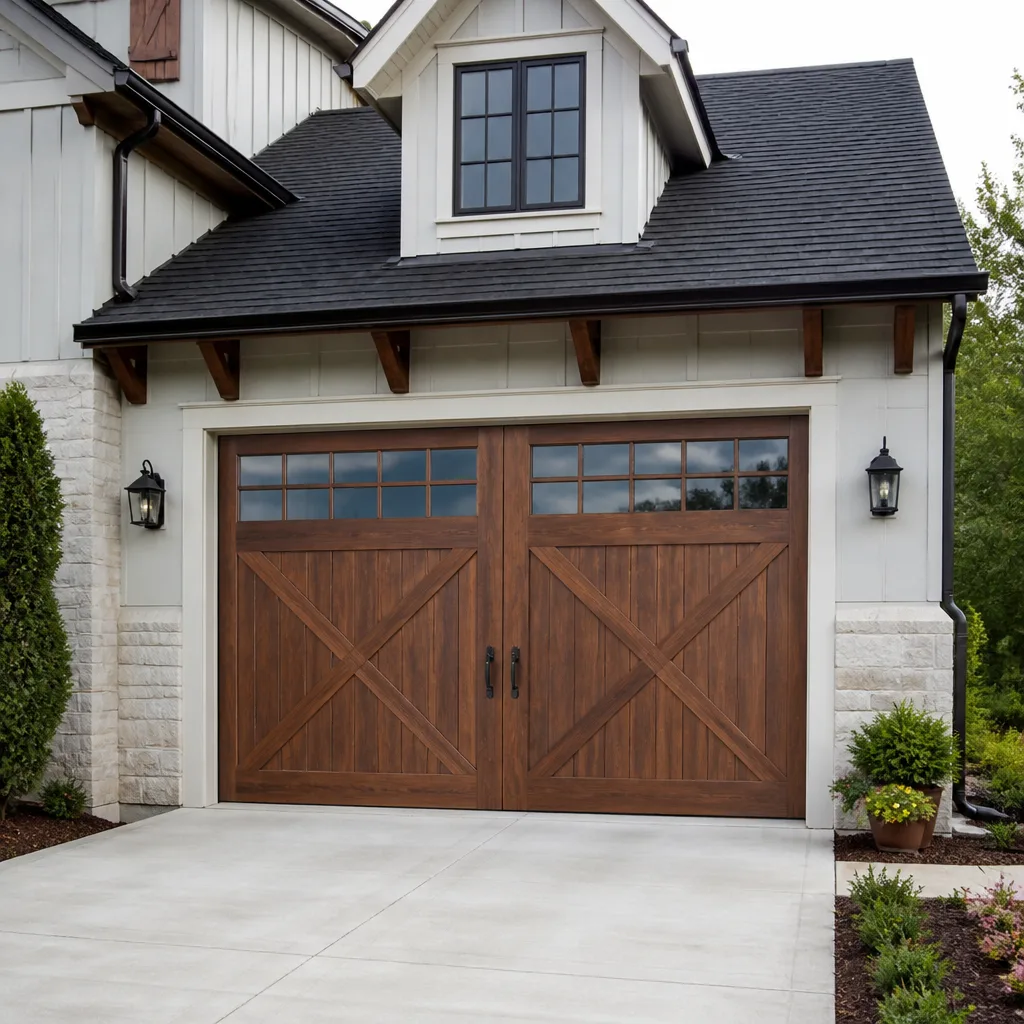 Carriage house
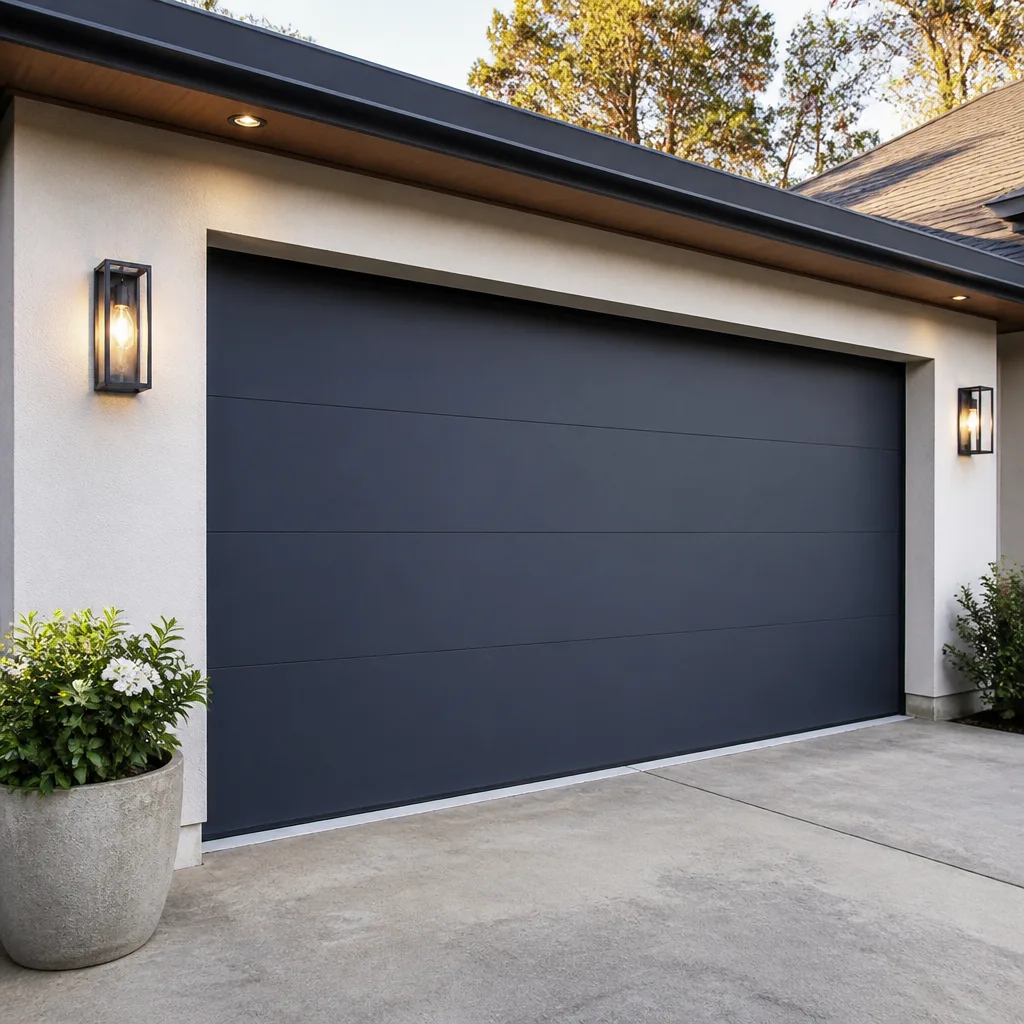 Modern flush
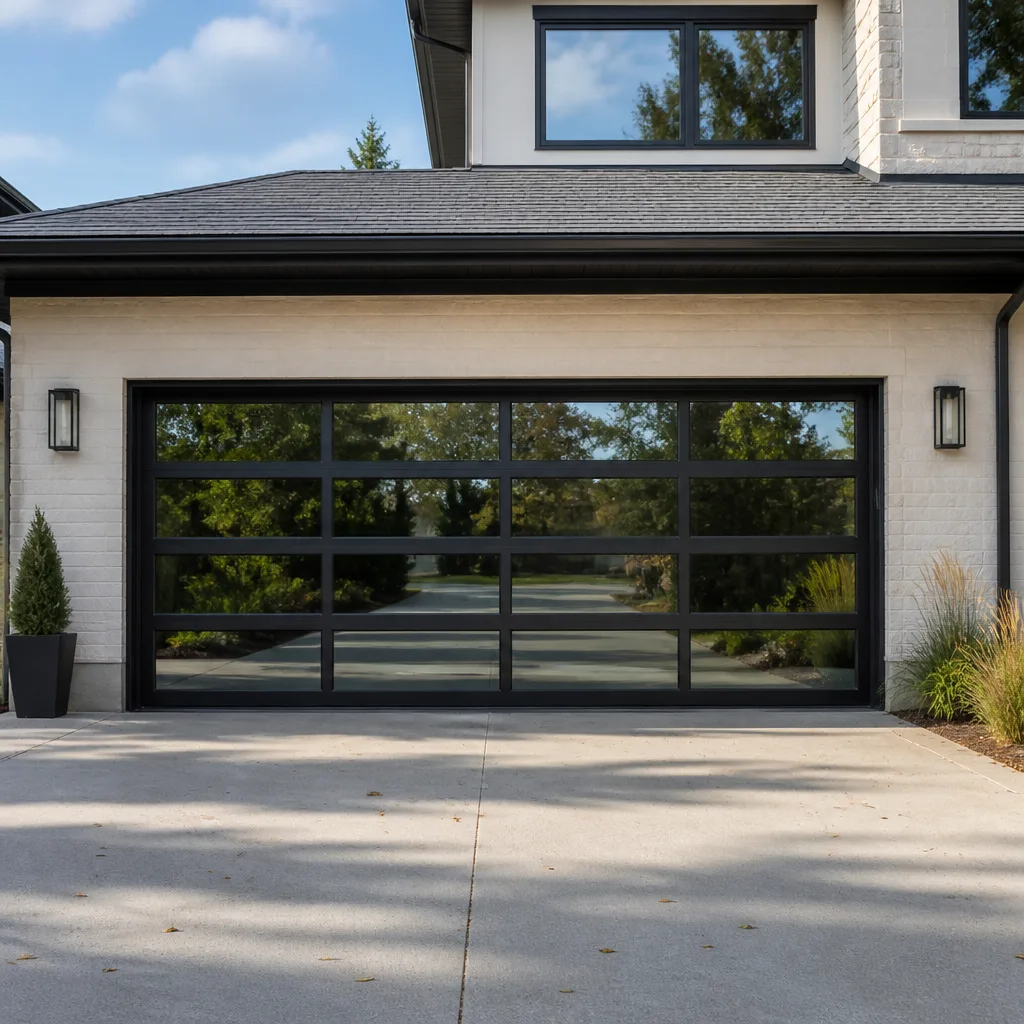 Full-view glass
 LiftMaster openers
 Chamberlain openers
Full 25-point door and opener safety check with every visit - springs, cables, rollers, tracks, and your LiftMaster or Chamberlain opener included
You get a price before we start. It does not change when the pro arrives.
Get your free estimateGarage Door Repair Maintenance Checklist for Lawrenceville Homeowners
Most garage door maintenance advice tells you to “inspect your springs” and leaves it at that. That’s not a checklist. That’s a chore list with no pass/fail line, and a homeowner staring at a torsion spring has no idea whether what they’re seeing is normal or three weeks from a snap. Nine out of ten failures that could have been caught early show up first in one of four places: the bottom seal, the cable drums, the roller stems, or the spring coil gaps. Each of those spots has a look that says “fine” and a look that says “call someone.” This guide gives you both. You’ll learn what to check, what a bad result actually means, and how to log it so a technician can diagnose faster. It’s written for the housing stock and the weather around Lawrenceville, where a garage door takes a real beating from freeze-thaw cycles.
Quick Answer
A garage door maintenance checklist for Lawrenceville should cover four failure points first: the bottom seal, the cable drums, the roller stems, and the torsion spring coil gaps. Check those monthly by eye, do a balance test twice a year, and lubricate the moving metal parts with a garage-door-specific lubricant two to four times a year depending on season. Anything that looks like uneven coil gaps, a frayed cable, or a door that drifts more than a few inches when you release it manually means stop using the door and call a specialist. The information below explains what “bad” looks like at each spot so you’re not guessing.
Styles & brands we work with
- Raised-panel steel
- Carriage house
- Modern flush
- Full-view glass
- LiftMaster openers
- Chamberlain openers
Table of Contents
- The Four Failure Points That Show Up First
- Torsion Spring Coil Gaps: Pass/Fail Criteria
- The Balance Test: What a 3-Inch Drift Tells You vs. a 12-Inch Drift
- Cable Drum Groove Wear: The Indicator Most People Miss
- Lubrication for Western PA Humidity and Cold
- Bottom Seal and Weatherstripping Checks
- Building a Maintenance Log That Actually Helps
- When to Call a Professional
The Four Failure Points That Show Up First
Garage doors don’t fail randomly. The mechanicals wear in a predictable order, and if you know what you’re looking for, you can catch the failure when it’s still a cheap fix instead of a snapped spring or a bent panel. Here in Lawrenceville, where winters swing hard between freezing and thawing, the wear pattern has a local flavor: seals crack faster, grease gets washed thin, and metal contracts and expands enough that a marginal part shows its weakness by February.
Walk into your garage and look at four things, in this order:
- The bottom seal. Look at the rubber strip along the bottom edge where it meets the floor. It should be pliable and contact the floor fully across the width. Hard, cracked, or leaving visible gaps means it’s losing the fight.
- The cable drums. These are the spool-shaped metal pieces at the top corners of the door (or at the ends of the torsion shaft). Cable should wind cleanly into the grooves. A drum with a worn or flattened edge is telling you the cable is being guided off track.
- The roller stems. Rollers ride in the track and are held by stems connecting them to the hinges. Look at each stem where it meets the hinge. Nylons rollers should spin free; steel rollers should roll without wobble. A stem that looks bent or a roller that’s flat-spotted means replace it before it starts eating the track.
- The torsion springs. These are the coiled springs above the door on a horizontal shaft. Look at the gap spacing between coils. More on this in the next section.
Four spots, two minutes, done once a month. That’s the whole core of the checklist. The rest of this guide is about what “bad” actually looks like at each one, because that’s the part most lists skip.
Torsion Spring Coil Gaps: Pass/Fail Criteria
When a torsion spring is healthy, the coils sit together with a small, even gap between each turn – roughly the thickness of a coin. When those gaps start to widen unevenly, one section of the spring is carrying more load than the rest, and that’s the spring telling you it’s near the end of its cycle life.
Here’s how to read them without touching anything:
- Pass: Coils are evenly spaced end to end. The gaps look identical from left to right. No rust bloom along the wire. No visible daylight showing through any single gap that’s noticeably wider than its neighbors.
- Watch: One or two gaps noticeably wider than the rest, especially near the middle of the spring. A fine orange rust dust or powdery residue around the coils. Either of these means the spring is aging fast; book a technician for a look rather than waiting for a snap.
- Fail: An obvious wide gap or a visibly separated coil. Any sound of the spring “settling” when the door moves. A door that suddenly feels much heavier than it used to. Stop operating the door and call.
Spring tension is the highest-energy stored energy in any residential system, and it can release without warning. Do not reach up, do not try to tighten a set screw, and do not wind or unwind anything yourself. This is the one part of the checklist you inspect by eye only. Our garage door repair work treats spring inspection as a specialty for exactly this reason; if a technician with up to 10 years of experience is putting hands near a wound spring, that’s the right person for the job.
Whether your system runs a Wayne Dalton assembly or a LiftMaster opener, the visual criteria above are the same. If you’re unsure what you’re looking at, the honest answer is to have someone who looks at springs all week confirm it.
The Balance Test: What a 3-Inch Drift Tells You vs. a 12-Inch Drift
A door is “balanced” when the springs carry its weight, and an unbalanced door is a warning that one part is failing behind the others. The balance test is how you check without tools. You do it with the opener disengaged, which on most openers is a pull cord or a lever on the rail that lets you lift the door by hand.
- Close the door, then pull the release cord to disconnect the opener.
- Lift the door manually to about waist height, then let it go.
- Watch what happens. A balanced door stays put or creeps less than a few inches.
- Now push the door up to fully open, then let it go again.
- Look at how far it drifts from the open position.
What the drift means:
- Drift under 3 inches: Normal. The system still carries the door. Keep maintaining and recheck in a month.
- Drift of roughly 3 to 8 inches: The springs are losing tension and the opener is doing more lifting work than it should be. Book a technician for a tune-up. Not urgent, but not something to ignore into winter.
- Drift of roughly a foot or more, or the door slams down when released: The spring is failing. Stop using the opener, don’t keep cycling the door, and call. Running the opener against a failing spring burns the motor out and can snap a cable.
Re-engage the opener before you use the door again. If you can’t get it to re-engage, that’s another sign the system needs a technician’s eye. Our garage door opener repair team sees plenty of openers that strained against a failing spring until the motor finally quit; the opener was the victim, not the cause.
Cable Drum Groove Wear: The Indicator Most People Miss
The cable drum rarely gets checked by homeowners and sometimes gets skipped by technicians in a hurry. It’s a metal spool with a spiral groove, and the cable winds into that groove to lift the door. When the drum’s edge or groove wears, the cable doesn’t sit in it correctly and starts to fray, kink, or jump – and a jump can drop the door.
Here’s what to look for on each drum:
- Pass: The groove is sharp and even. Cable sits cleanly inside with no visible fraying on the wire itself. No chewing or scraping smell coming from the drum. The drum spins cleanly without wobble.
- Watch: Flat or rounded groove edge, especially at the first turn where the cable always sits. Frayed cable strands visible in the last foot of wire near the drum. These mean the cable has been working its way off track. Book a repair.
- Fail: Cable visibly out of the groove, wire strands spread, a bent or cracked drum flange, or the door hanging at an angle on one side. Stop. Don’t touch the cable. Call a specialist.
Cables are under spring-level tension; there’s no safe way to handle them without the right tools and the discipline to keep the door locked out while you work. In our experience, the drum-and-cable system is where a “small” ignored wear item turns into a door sitting crooked in the track, which is a much bigger job than replacing the cable would have been.
Craftsman and Raynor systems both use drum assemblies that repay a monthly eye check. If you see signs of wear on either side, call us with the brand and model of your door, and we’ll tell you what we’d expect to see on that assembly before we arrive. You can also stop by our Lawrenceville Garage Door Repair Pros service overview for the full scope of what we handle.
Lubrication for Western PA Humidity and Cold
Lubrication is the easiest maintenance item to get wrong, because the wrong product is worse than nothing. WD-40 is a solvent and water displacer, not a lubricant – it will thin out whatever grease is on the hinges and leave the metal drier than it started. The right products for garage doors are purpose-made garage door lubricants, silicone spray on the weatherstripping, and a light lithium or white grease for the tracks. Nothing else.
What to lubricate and how often, given western PA weather:
- Hinges and roller stems: Every 2 to 3 months. In winter, once a month is not too often, because the freeze-thaw cycles push grease out of the joint and the metal contracts, which is when hinge pins seize.
- Rollers and track (inside surface only): Every 2 to 3 months. Don’t lube the outside of the track, and don’t oil the track if your door runs nylon rollers; the oil attracts grit.
- Springs: A light coat of garage door lube on the outside of the coils, twice a year. This slows the rust that eats springs from the outside in.
- Opener chain or belt (if applicable): Follow the opener’s manual. LiftMaster and Chamberlain belt-drive units generally want little to no oil. Chain-drive units want a light chain lube once a year.
- Bottom seal and weatherstripping: Silicone spray every few months keeps the rubber pliable through the cold. This is the item that pays the biggest dividend in Lawrenceville winters.
Don’t lubricate the torsion shaft in a way that lets oil drip onto the spring – the spring should stay dry under the light coating. And don’t spray anything on the photo-eye sensors; a dirty or greased lens is one of the most common false diagnostic calls we get.
Bottom Seal and Weatherstripping Checks
The bottom seal is the working edge of your garage door, and in Lawrenceville it takes more abuse than the rest of the door combined. It’s the first thing to contact the floor, the first thing to freeze to the concrete, and the first thing to crack. A seal that’s failing doesn’t just let cold air in – it lets meltwater and grit in, which then rust the bottom panel and the roller stems from the inside out.
Do this check with the door down:
- Get low, on your hands and knees, and look along the seal where it meets the floor. You should see continuous contact and no daylight.
- Press the rubber with your thumb. It should be soft and spring back. If it’s hard, cracked, or leaves a permanent indent, it’s aged out.
- Check the side weatherstripping at the door jambs. Same rule: soft, continuous contact, no gaps.
- Look at the bottom panel of the door, especially where the seal attaches. Rust bloom along the bottom edge is usually the first visual hint that the seal has been letting water in.
A rigid seal is also why doors stick in cold weather. When the rubber freezes to the concrete, the opener keeps pulling and the door finally lets go with a jolt that shakes the whole frame. That jolt is what damages roller stems and stresses hinges. A soft silicone-sprayed seal doesn’t stick. Replacing a bottom seal is one of the lower-cost repairs on a garage door, and it protects much more expensive panels.
Building a Maintenance Log That Actually Helps
A log isn’t paperwork. It’s the difference between a technician who has to diagnose blindly and one who arrives knowing exactly which part has been trending bad. It’s also how you tell whether a slowly worsening symptom is actually worsening or whether you just caught it on a bad day.
Log these items, each time you do the check:
- Date. Obvious, but the log is useless without the timeline.
- Balance drift, in inches. Eyeball it against a mark on the wall. A marker line at a set height gives you a repeatable reading.
- Spring gap condition. Note “even,” “one wide gap left of center,” or “rust bloom on lower coils.” Don’t guess at the cause – just record what you saw.
- Cable and drum note. “Clean,” “slight fray near drum,” “groove flat on right side.”
- Bottom seal note. “Soft,” “hardened,” “gaps at center.”
- Any new noise, sticking point, or opener behavior. “Opener reverses at ~3 ft,” “rhythmic click on left side,” “light won’t stay on.”
- Lubrication done. Date, product used, points covered.
When you call us for a service visit, have the log ready. A technician with up to 10 years of experience can usually cut a diagnostic visit by half when the homeowner can say “the drift went from 2 inches in October to 7 inches in January.” That’s the kind of information a well-kept log produces, and it’s a big reason our garage door installation and repair team asks homeowners to keep one.
Common Mistakes to Avoid
- Lubricating with WD-40. It’s a solvent, not a lubricant. It strips the good grease off your hinges and leaves them exposed to western PA humidity. Use a purpose-made garage door lubricant instead.
- Trying to tighten or adjust a torsion spring yourself. The spring is under enough tension that a slip can break bones. There is no safe homeowner adjustment. Inspect by eye, log it, and call a specialist.
- Ignoring the balance drift. A door that drifts 5 inches today becomes a door that drifts 12 inches in a month, and 12 inches means the springs are failing. Catch it at 5 and the fix is a spring replacement; catch it at 12 and it’s often a spring plus a cable plus opener damage.
- Skipping the drum check because the cable looks fine. Cables look fine right up until they don’t. The drum is where you see the wear before the cable lets you know the hard way.
- Pushing a stiff door in cold weather. When the door sticks at the bottom because the seal has frozen to the concrete, pushing harder stresses the hinges. Lubricate the seal and the bottom of the track with silicone spray as cold weather sets in.
- Letting rust bloom stay on the spring. Rust on a spring is a real wear indicator, not cosmetic. Lightly coating the outside of the coils with garage door lube slows the rust and extends the interval before replacement.
- Over-lubricating the track. Excess oil on the track attracts grit, which then grinds the rollers and the metal. A thin film on the inside surface is all you need.
- Not logging anything. Without a history, a technician can’t tell an old symptom from a new one, and every visit starts from zero. Keep a dated one-page log on a clipboard or in a phone note.
See the difference
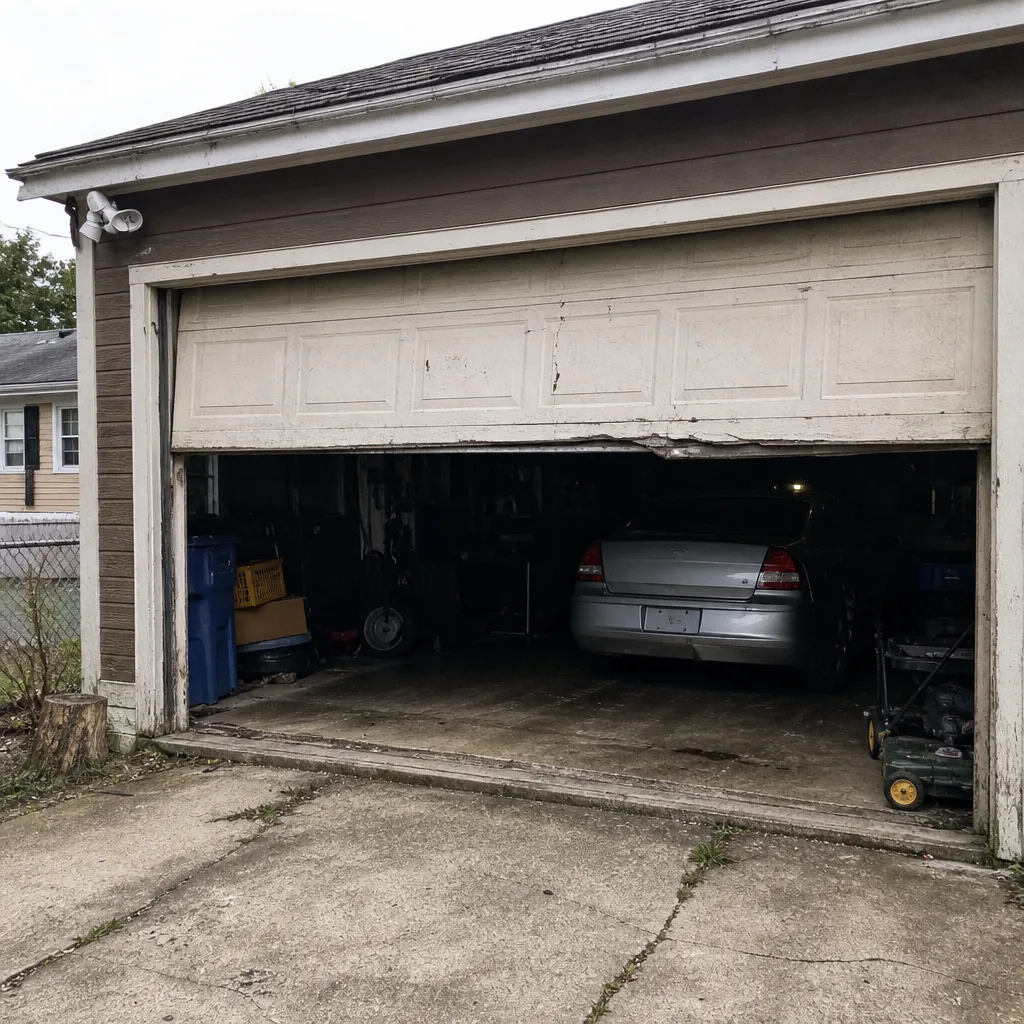 Before
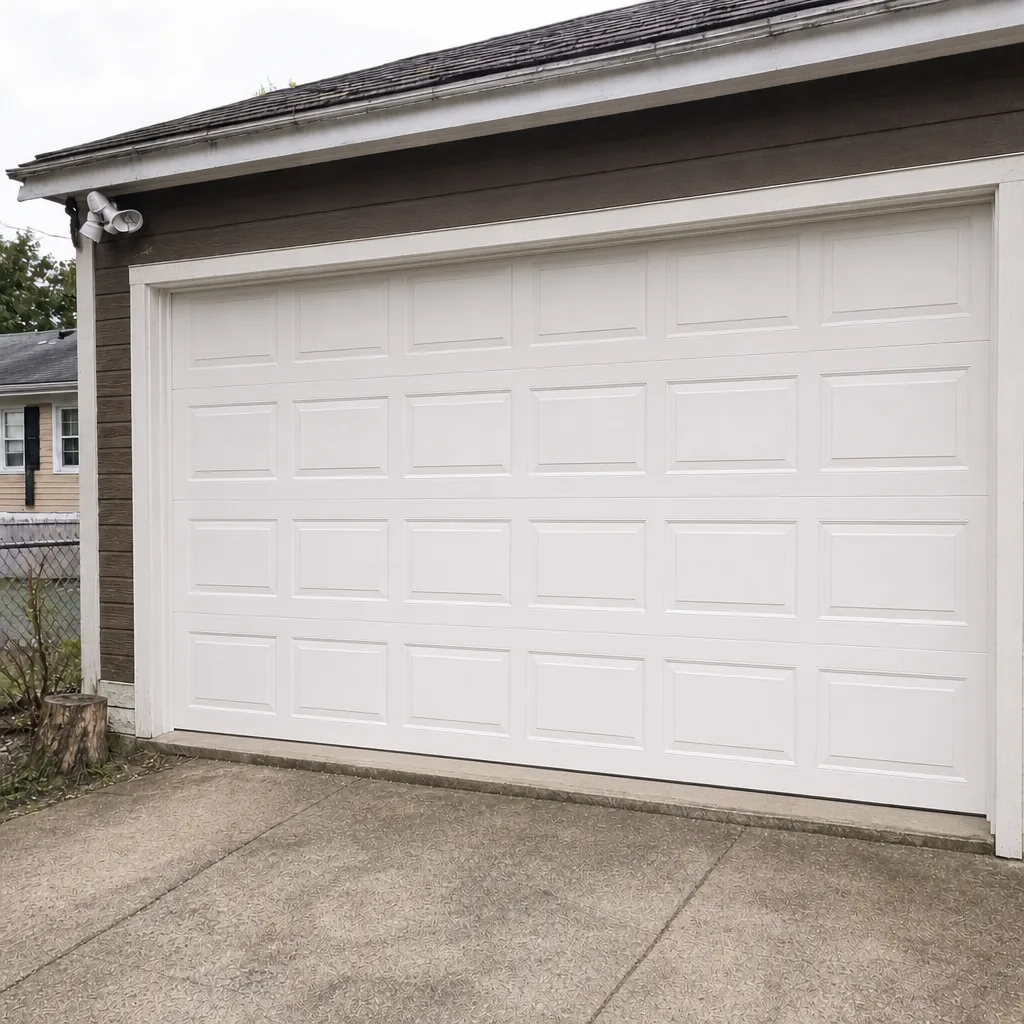 After
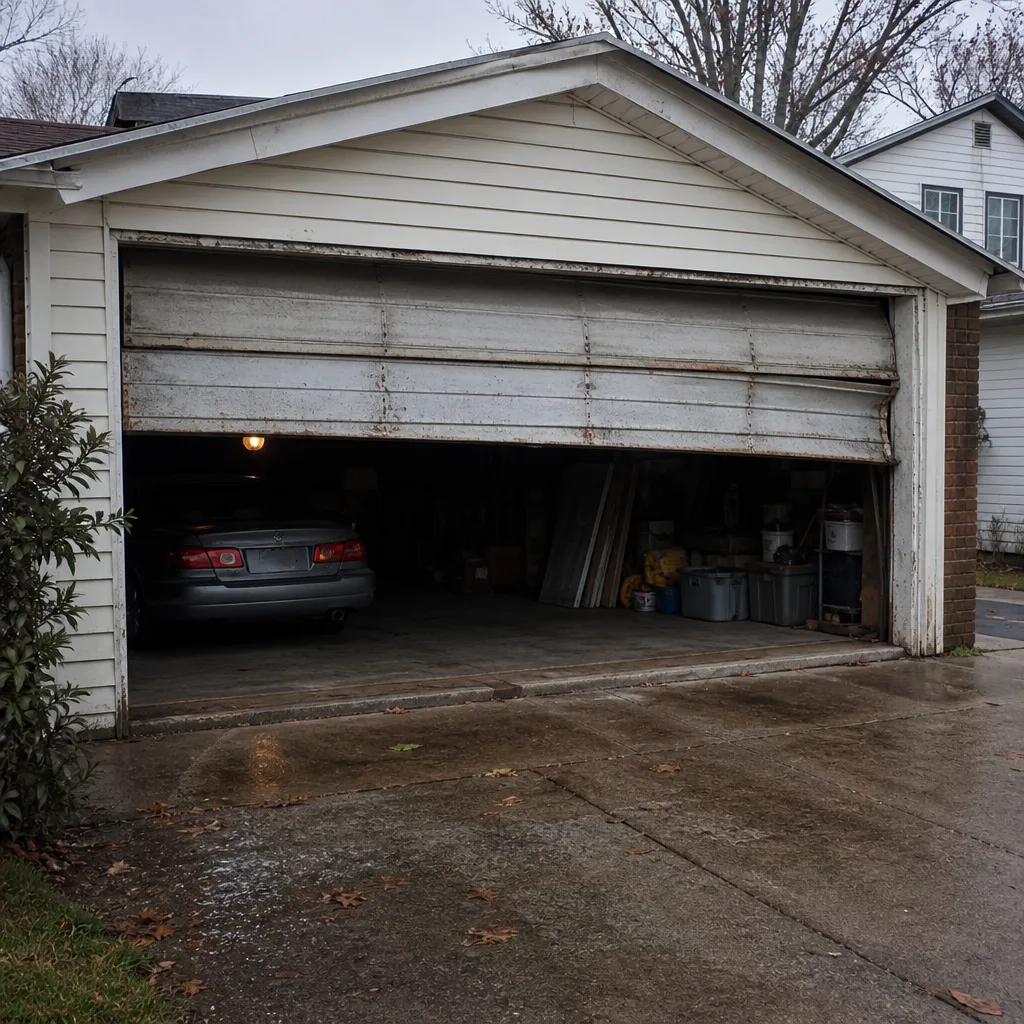 Before
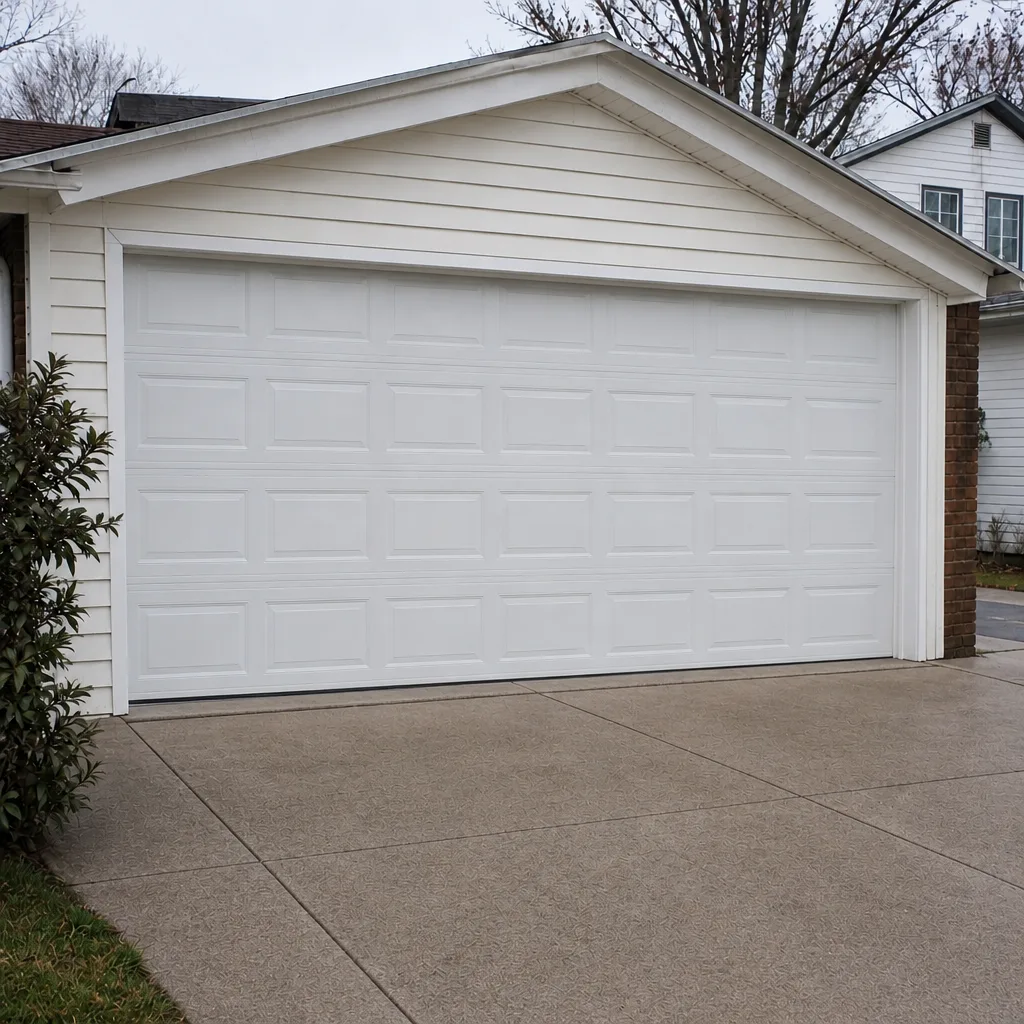 After
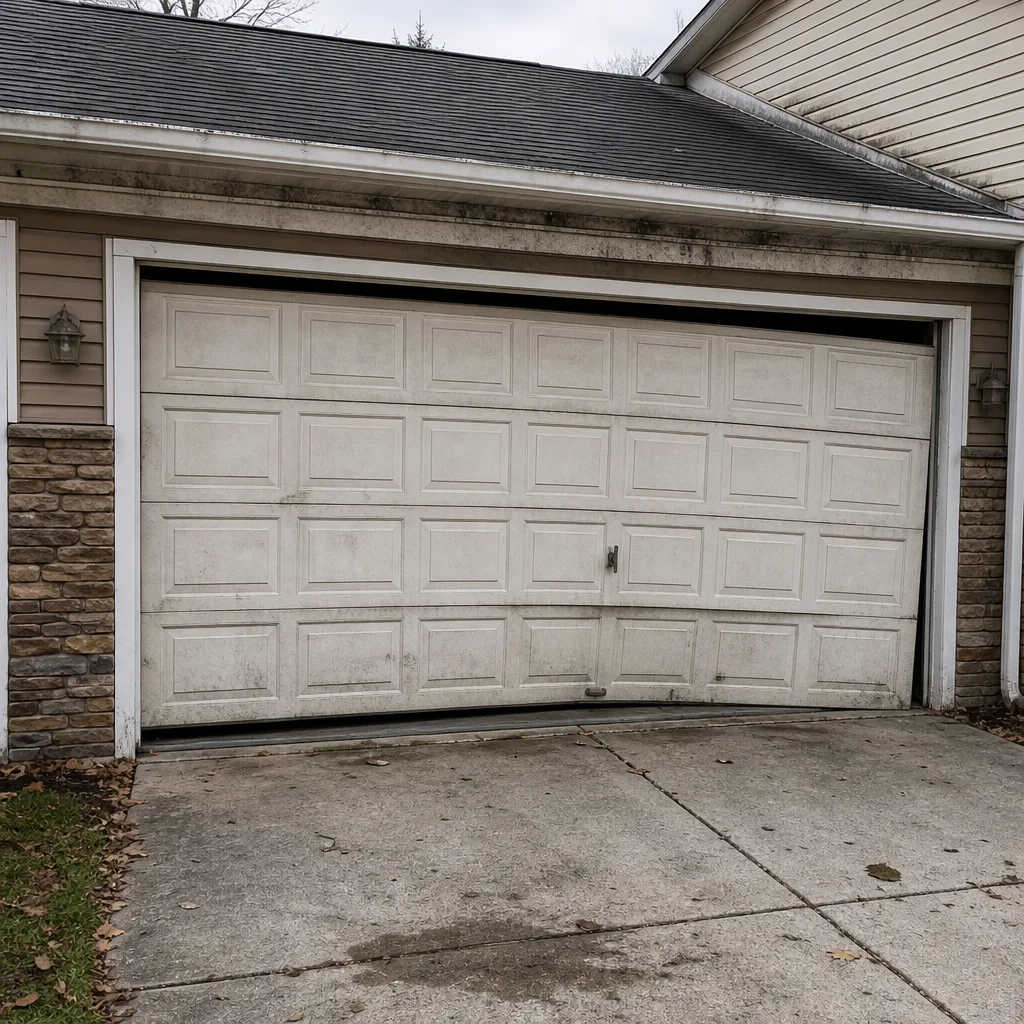 Before
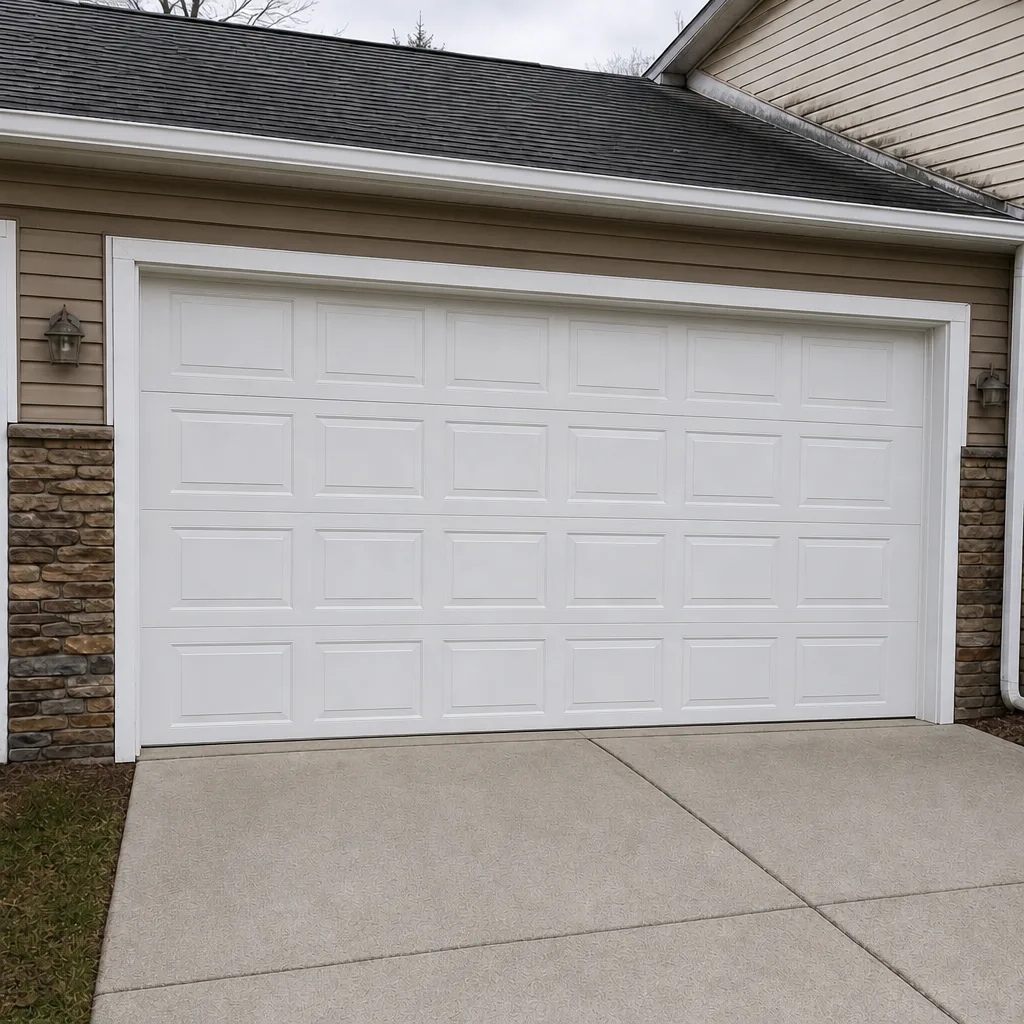 After
When to Call a Professional
Call a professional garage door technician when a spring shows uneven coil gaps, when the balance test produces a drift of roughly 8 inches or more, when a cable is frayed or out of its drum groove, when the door is visibly crooked in the track, or when the opener reverses on its own, gives a safety-eye fault, or strains to lift the door. Call sooner if the door won’t open, won’t close, or makes a hard snapping sound. Anything involving the springs, cables, or torsion shaft is expert-only work; there’s no safe version of that job for a homeowner.
For everything else – a bottom seal that’s hardened, stray rust on the springs, an opener that’s starting to misbehave – book a service call rather than waiting for a failure. Lawrenceville Garage Door Repair Pros works on the major brands you already own, from Wayne Dalton to LiftMaster, and we carry correct-fit parts rather than universal substitutes. Technicians we work with have up to 10 years of experience, and the company is a single-trade specialist: every call, every technician, every tool is just garage doors. We offer free estimates in Lawrenceville – call (866) 984-8670. We answer 24/7. Fast dispatch from 7am to 7pm, Sunday through Friday.
Frequently Asked Questions
Do the four-point visual check once a month, the balance test twice a year, and lubricate hinges and roller stems every 2 to 3 months (once a month in winter). Lawrenceville’s freeze-thaw cycles accelerate wear on seals and grease, so the seasonal intervals tighten up between November and March. If a spot turns up “watch” status, check it every two weeks until you’ve had a technician look at it. Call (866) 984-8670 for an exact quote on any repair – estimates are free.
It means the spring is wearing unevenly and is carrying load in a way it wasn’t designed to. Small, even gaps are normal; one or two noticeably wider gaps, or visible rust bloom along the wire, means the spring is aging toward failure. Don’t adjust anything. Book an inspection and plan for a spring replacement rather than waiting for a snap. Call (866) 984-8670 for an exact quote – estimates are free.
A drift of roughly 3 inches or more when you release the door from the open position is the point to schedule a service visit. A drift of a foot or more, or a door that slams down, means the springs are failing and you should stop using the opener until a technician looks at it. Under 3 inches is normal. Call (866) 984-8670 to book a balance check – estimates are free.
No. WD-40 is a solvent and water displacer, not a lubricant, and it strips the grease off your hinges. Use a purpose-made garage door lubricant on the hinges, roller stems, and outside of the springs; silicone spray on the bottom seal and side weatherstripping. Frequency matters more than brand – every 2 to 3 months, more often in winter. If a hinge is already seized, call (866) 984-8670 – estimates are free.
No. Torsion springs are the highest-tension component in any residential garage door, and a release can cause serious injury. There is no safe homeowner version of the job, no safe set of tools for it, and no safe shortcut. Inspect by eye, log what you see, and call a specialist. Call (866) 984-8670 for an exact quote – estimates are free, and the price is quoted and agreed before any work starts.
Once a written estimate is in place, that’s the price – the written estimate sets the final price. If the inspection turns up something the estimate couldn’t have covered, the technician stops, tells you, and re-quotes before any additional work. Nothing is charged that you haven’t agreed to. That’s the standard we hold the local pros to for every garage door repair in Lawrenceville. Call (866) 984-8670 for an exact quote – estimates are free.
The Bottom Line
A maintenance checklist is only useful if it comes with a pass/fail line, and that’s the real work in this guide. Check four things monthly: the bottom seal, the cable drums, the roller stems, and the spring coil gaps. Balance-test twice a year and read the drift against the thresholds above. Lubricate with garage-door-specific products on a western PA schedule and keep a dated log of what you find. When a spot fails, or when the drift crosses the threshold, that’s when a specialist with the right tools takes over – springs and cables are never a homeowner job. Keep the log, keep the intervals, and most failures will announce themselves well before they turn into an inconvenient morning. If this checklist is pointing at a repair or an upgrade, Lawrenceville Garage Door Repair Pros handles the full spectrum – springs, openers, panels, and full installations – for every major brand your door already uses. Give us a call for a free estimate at (866) 984-8670. We answer 24/7. Fast dispatch from 7am to 7pm, Sunday through Friday.
Written by the team at Lawrenceville Garage Door Repair Pros.